Illustration: the attack of the integrators
This is not a single illustration, but rather a whole project. Since I used my usual assortment of tools, e.g. Blender, to create this, I thought it would be fitting to document the underlying process of creating this work of art.
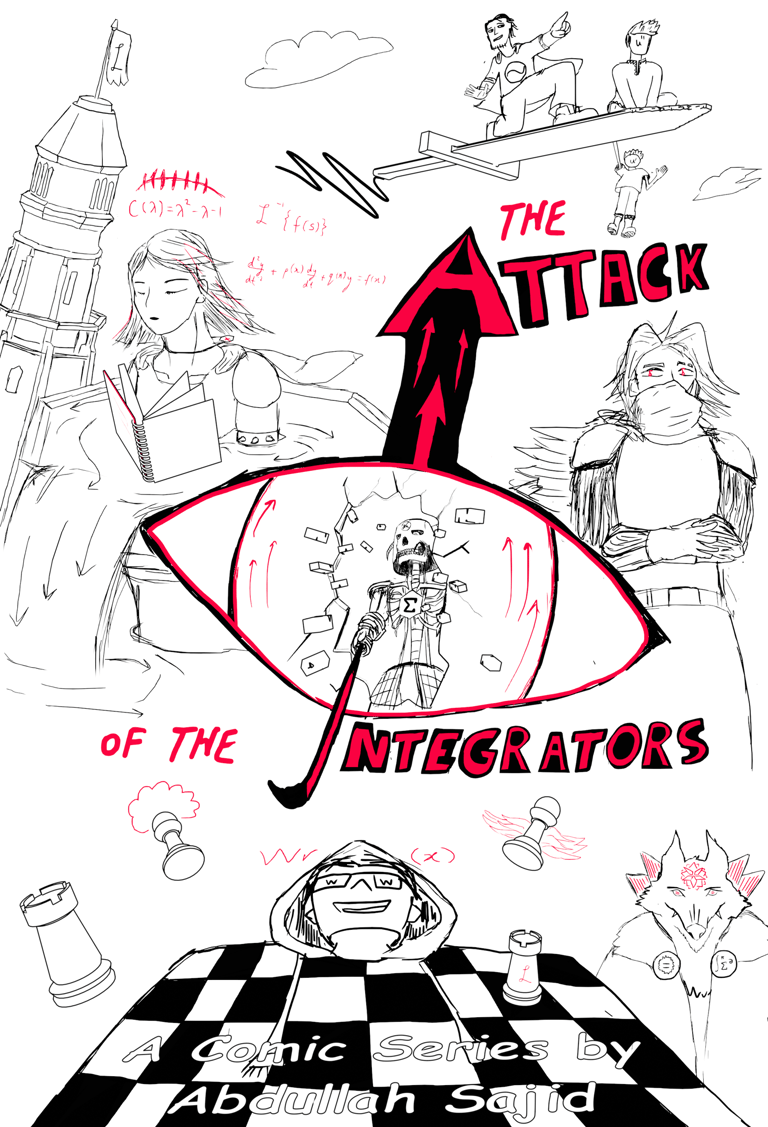

Cover Art (2160x3200px)
If you are interested of course, you can read it here on my website.

How I made the comic
first pass: blender
Instead of using conventional animation/illustration software, I decided to use Blender as a foundation for this project. The reason is straightforward. Blender gives me a lot of freedom, flexibility, and scalability, allowing me to produce works of this scale (Plus, I get to work in the third dimension if necessary).
Traditional 2D artists are not only limited by spatial dimensions, but rather, they have to stay super organized with drawing layers, animation frames, and collections of that sort. Although arguably their tools and brushes are much more optimized towards the actual task of creating illustrations, Blender gives me all the basic tools I need to achieve the kind of look I want. Plus, it is easier for me to stay organized due to it's game-engine-style layout where I can have multiple objects placed somewhere in the space under any scene I like, and I get to partition this large project between multiple scenes, without creating a disastrous amount of layers (though that issue could be dismissed in other animation software by drawing one page per frame or something of that sort to stay organized).
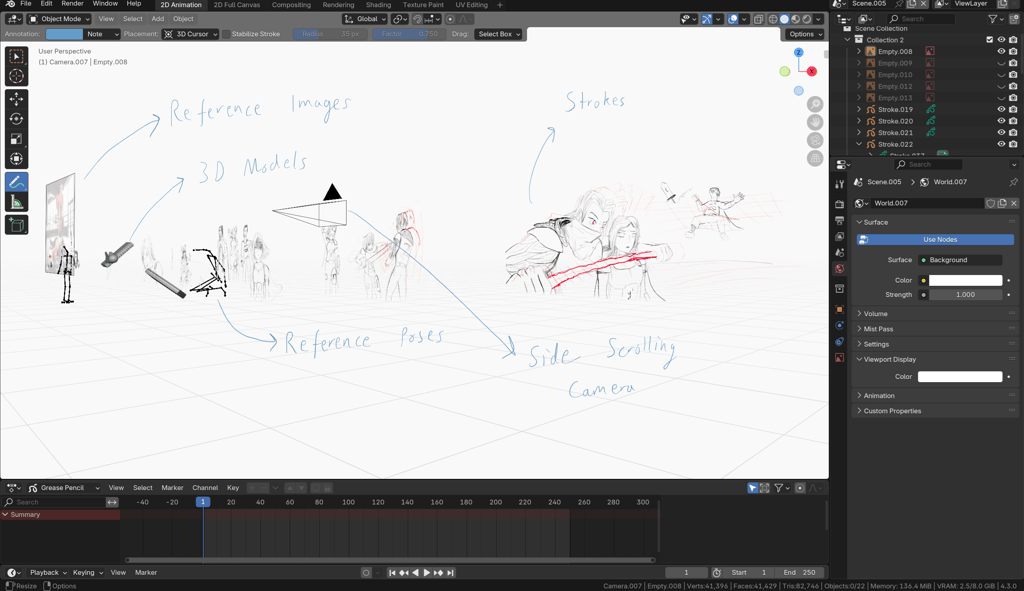
Now, here is the detailed breakdown of the setup that allows me to create pages:
First, I created an empty "2D Animation" project. By default, this project already gives you a solid configuration to start drawing right away.
Next, I add a few additional "Workspaces" by clicking the "+" icon in the Workspaces menu on the top of the screen. The most useful ones not added by default in the 2D Animation preset are:
Layout: This is the traditional 3D modelling default view for blender. It makes it very convenient to place objects in 3D as it shows the 3D cursor and other overlays on screen by default (of course, you can also configure the pre-existing 2D Animation Workspace to show any overlays and gizmos of your choice like I did in this project).
Shading: This is crucial if you are working with special materials and shaders in your scene. The shader editor can be used to create colors and materials procedurally and add fancier effects to them using nodes.
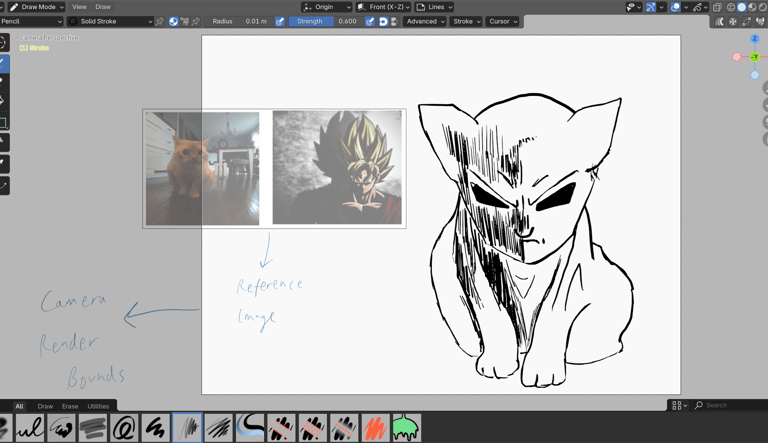
For simpler scenes, it is possible to simply draw unguided strokes, but if the drawing bit of a scene is relatively complicated, then I can use either:
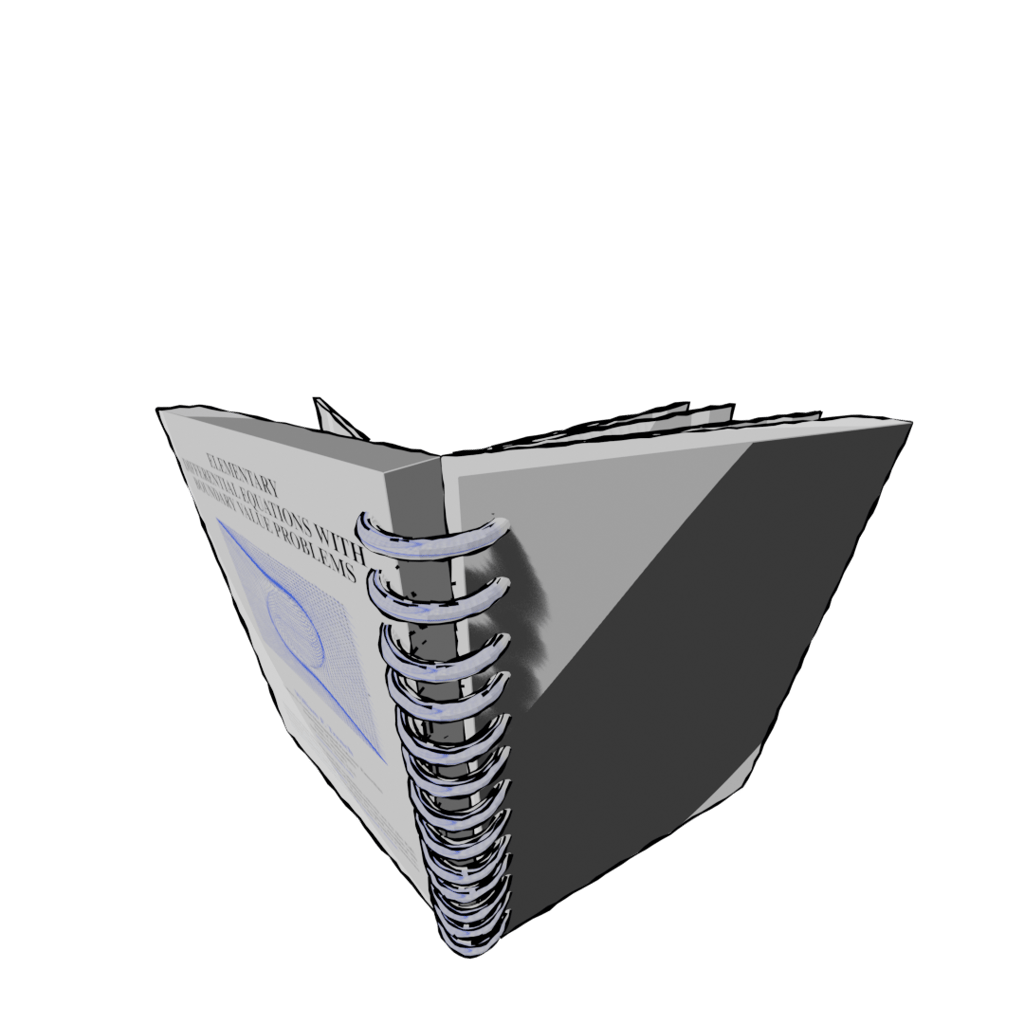
(a) Reference Images
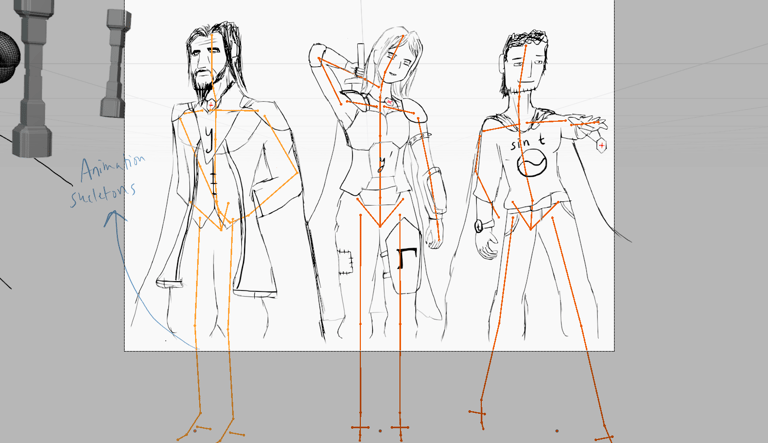
(b) Animation skeletons. I manually pose them to get a feel for the orientation of a pose in 3D, and evidently draw over them afterwards.

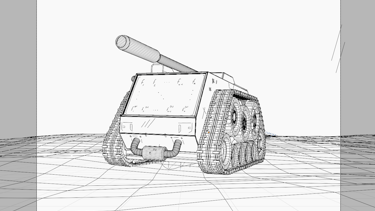
(c) 3D Models, they allow me to make redundant and complicated details in a more time efficient way. Blender has an outlining tool called "freestyle" that turns 3D geometry into sketchy outlines in the post processing of a render.
The Caveat of Using 3D Models
2D and 3D objects do not mix well traditionally. A phenomena formally known as "Z fighting" (yes, very cool name but Z stands for "depth" in this context), occurs where the depth of front facing objects is put into question. In this case it is ignored by Blender while tracing "freestyle" lines since it is a post-process operation by default.
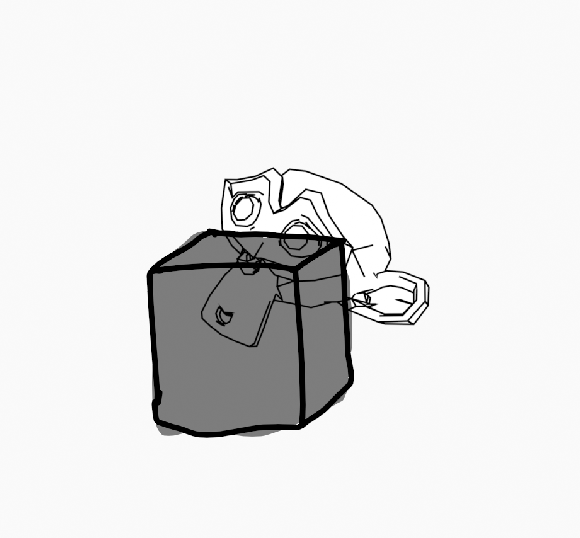
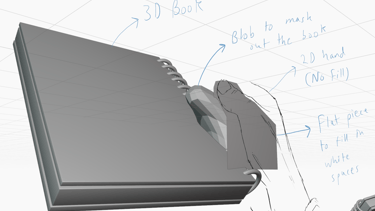
As we can see in this cute demo. The monkey is supposed to be placed behind the solid block of concrete, and the solid block of concrete is equipped with a dark grey opaque fill. But despite that, the sketchlines of the monkey seem unfazed and continue to dominate the "Z battle" unjustly.
The Solution
A sophisticated and organized solution would be to force the freestyle operation to be done first, keep track of its depth, and then overlay "slices" of the scene depending on their depth. Blender's compositor handles this nicely by allowing you to have freestyle as a separate render pass, have a Z pass, and a built in Z-Combine function to resolve all of these issues... granted that your scene(s) were organized nicely in the first place because you would also need to isolate and render each scene separately before hitting the Z-Combine.
But since my scenes were messy, and I did not want to deal with the compositor which could potentially ruin all of my render configurations, I went for a quick and dirty solution when I ran into this issue.
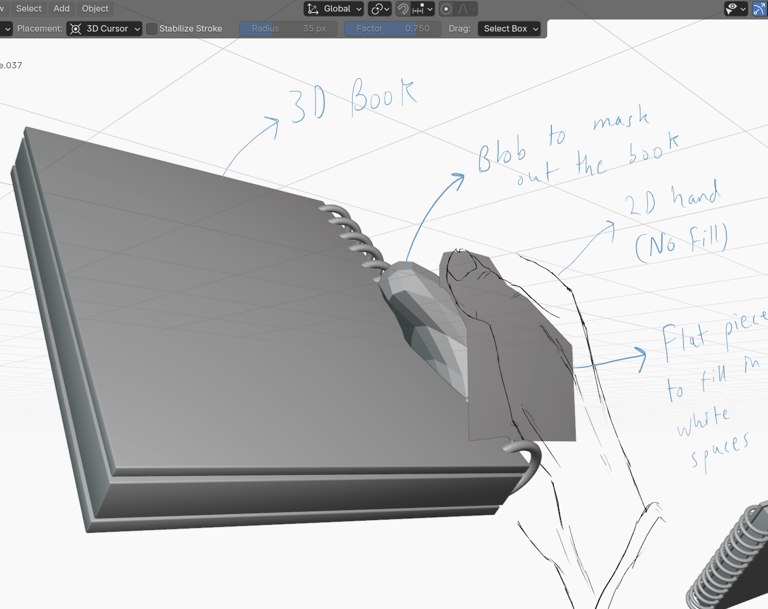

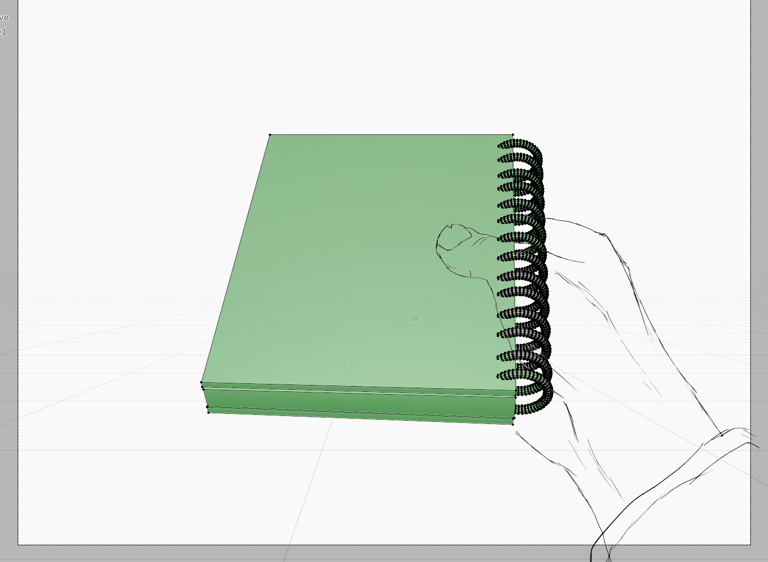
First, Blender has a setting with which I can limit freestyle to only work on a handful of faces in my 3D scene. Here for example, all the faces highlighted in green are outlined, and the rest are ignored. This helped me eradicate some of the annoying outlines.
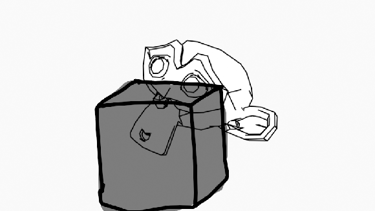
But turns out, this battle is not over. Some obstructive outlines, such as the back of the page, still penetrate through. So I came up with a brilliant solution. I first cast a blob roughly matching the shape of the compromised part of the hand. This blob is assigned a Holdout material. What the holdout material effectively does is that it eradicates anything inside it, and behind it from my current camera perspective, including the background itself, and now there is A GAPING VOID IN MY DRAWING. No worries though, because I add an additional flat plane with a flat white shader to fill out the missing piece. But wouldn't it freestyle kick in and trace out its outline? No, because our initial freestyle exclusivity setting comes into play here.
AND...... VOILA! No more Z Fighting!
With that being said and our final render being made, we are now done with our work in blender.
Second Pass: Microsoft Onenote
What? Not Adobe Photoshop, not even GIMP or Krita??? The reason for me using OneNote to compile the comic is actually fairly straightforward. See, I was originally sending screenshots of my comic as part of my assignments (I released each chapter with each subsequent assignment), and I found OneNote to be convenient for this purpose since all my notes and solutions are saved there
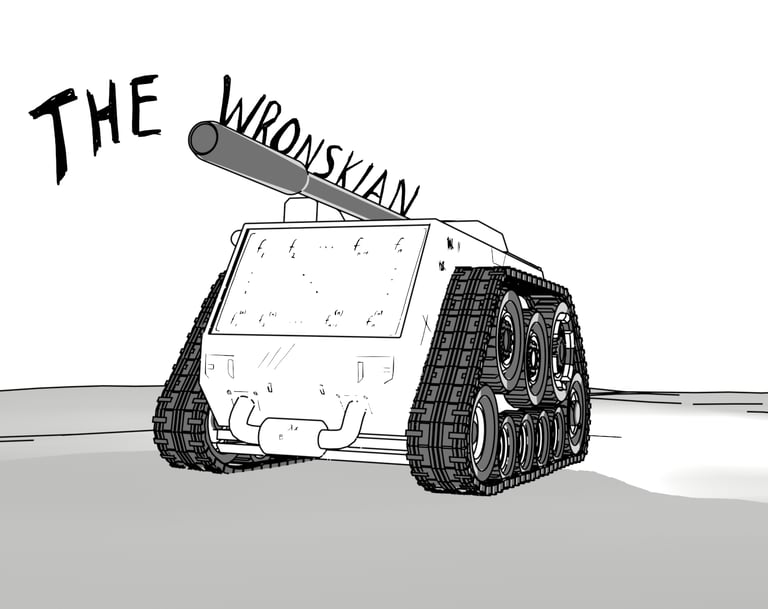
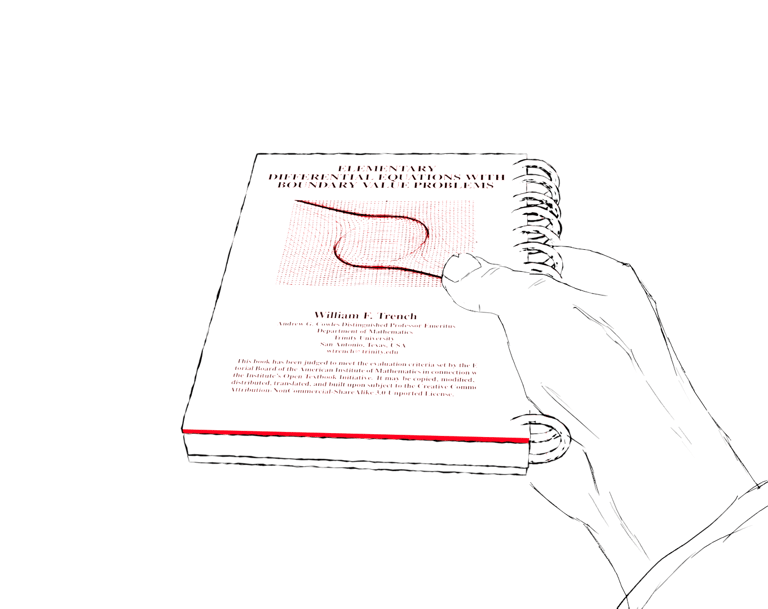
Blender Render (typically XXXX x 1080 resolution)

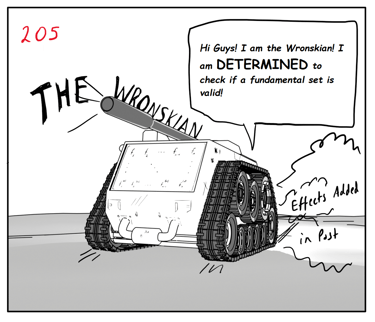
Adding the render to a page in OneNote and then adding the panel number and subsequent dialogue. I may add additional effects here if needed
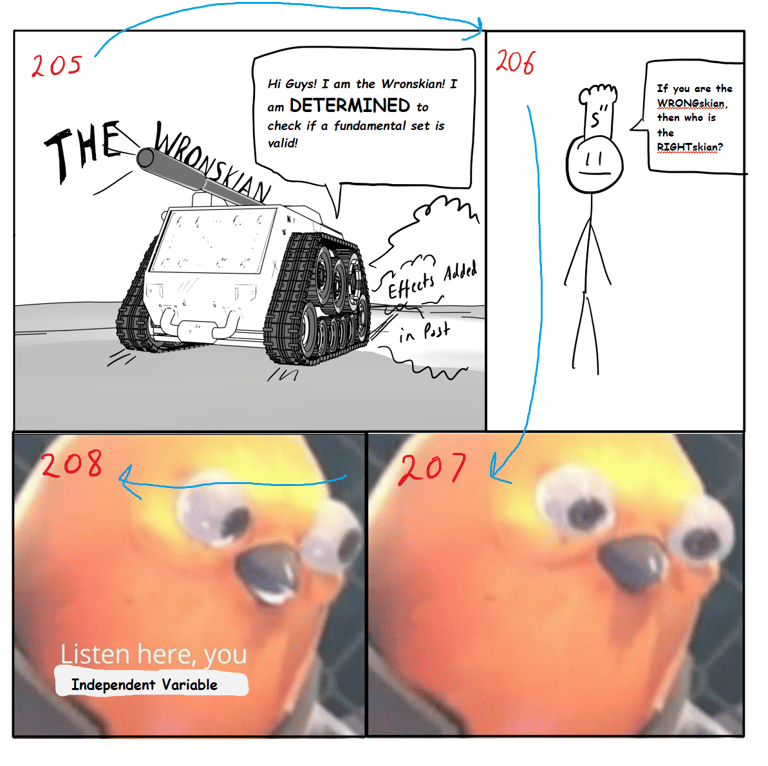
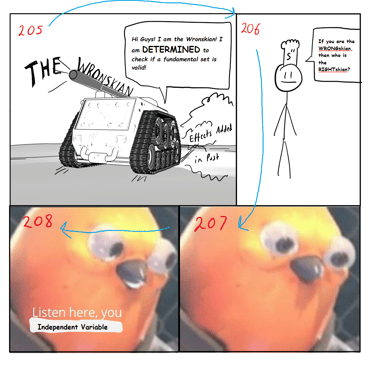
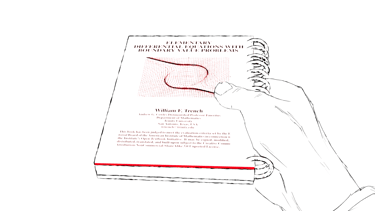
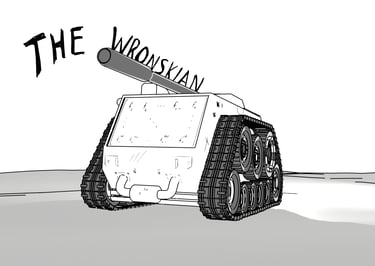
Complete comic page (significant loss in quality since it is a screenshot, but that is not an issue since this is a passion project, not a production piece). You may have observed that my page layouts follow this cyclic pattern. I don't read many comics, but this is my way of presenting pages to you. I am sorry if it bothers anyone. (The above sample comic is not part of the actual plot, this is for representation purposes only).
Directly Drawing in OneNote
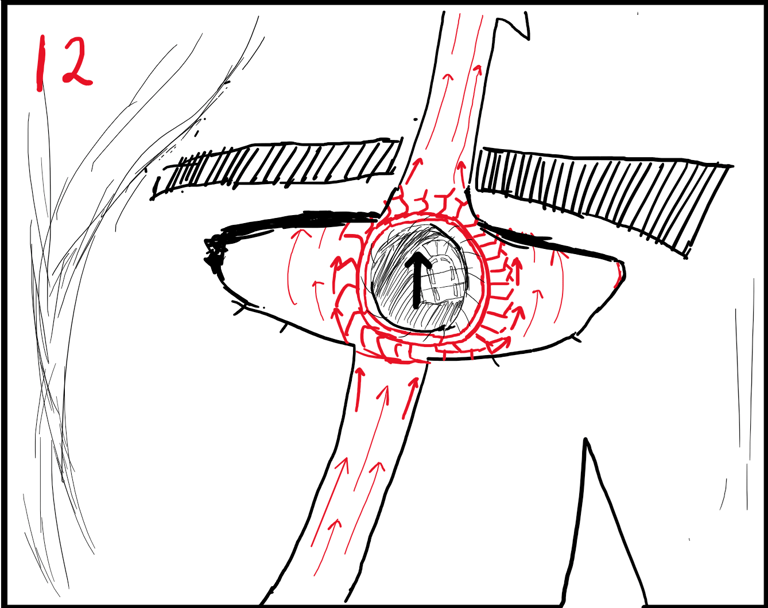
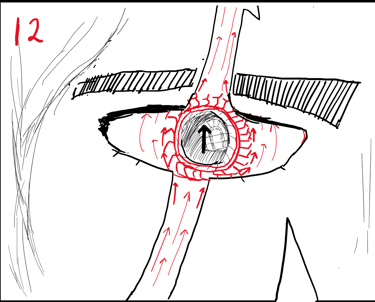
Honestly, OneNote is not that bad for drawing. It supports tablet pen pressure which allows me to vary stroke strength. That alone is pretty effective for drawing simple scenes directly within onenote, and if I screenshot them, I do not lose as much quality as I do when I screenshot a set of pre rendered pngs which effectively leads to two sources of data loss. Also, by simple scenes I mean scenes that do not require much mental effort to create, such as this image featuring General Solutions' eye. It is fairly detailed, featuring a windowpane reflection as well as numerous vector field lines, but nonetheless there are only three objects in this scene, the eye, the brow, and a strand of hair.
However despite all that being said. Onenote will absolutely eat up all of your RAM if you use too many strokes, so it is still better to stick to complicated scenes in Blender instead.
AND THAT'S ABOUT IT FOR THE PROCESS!