Koenigsegg Regera
Front View
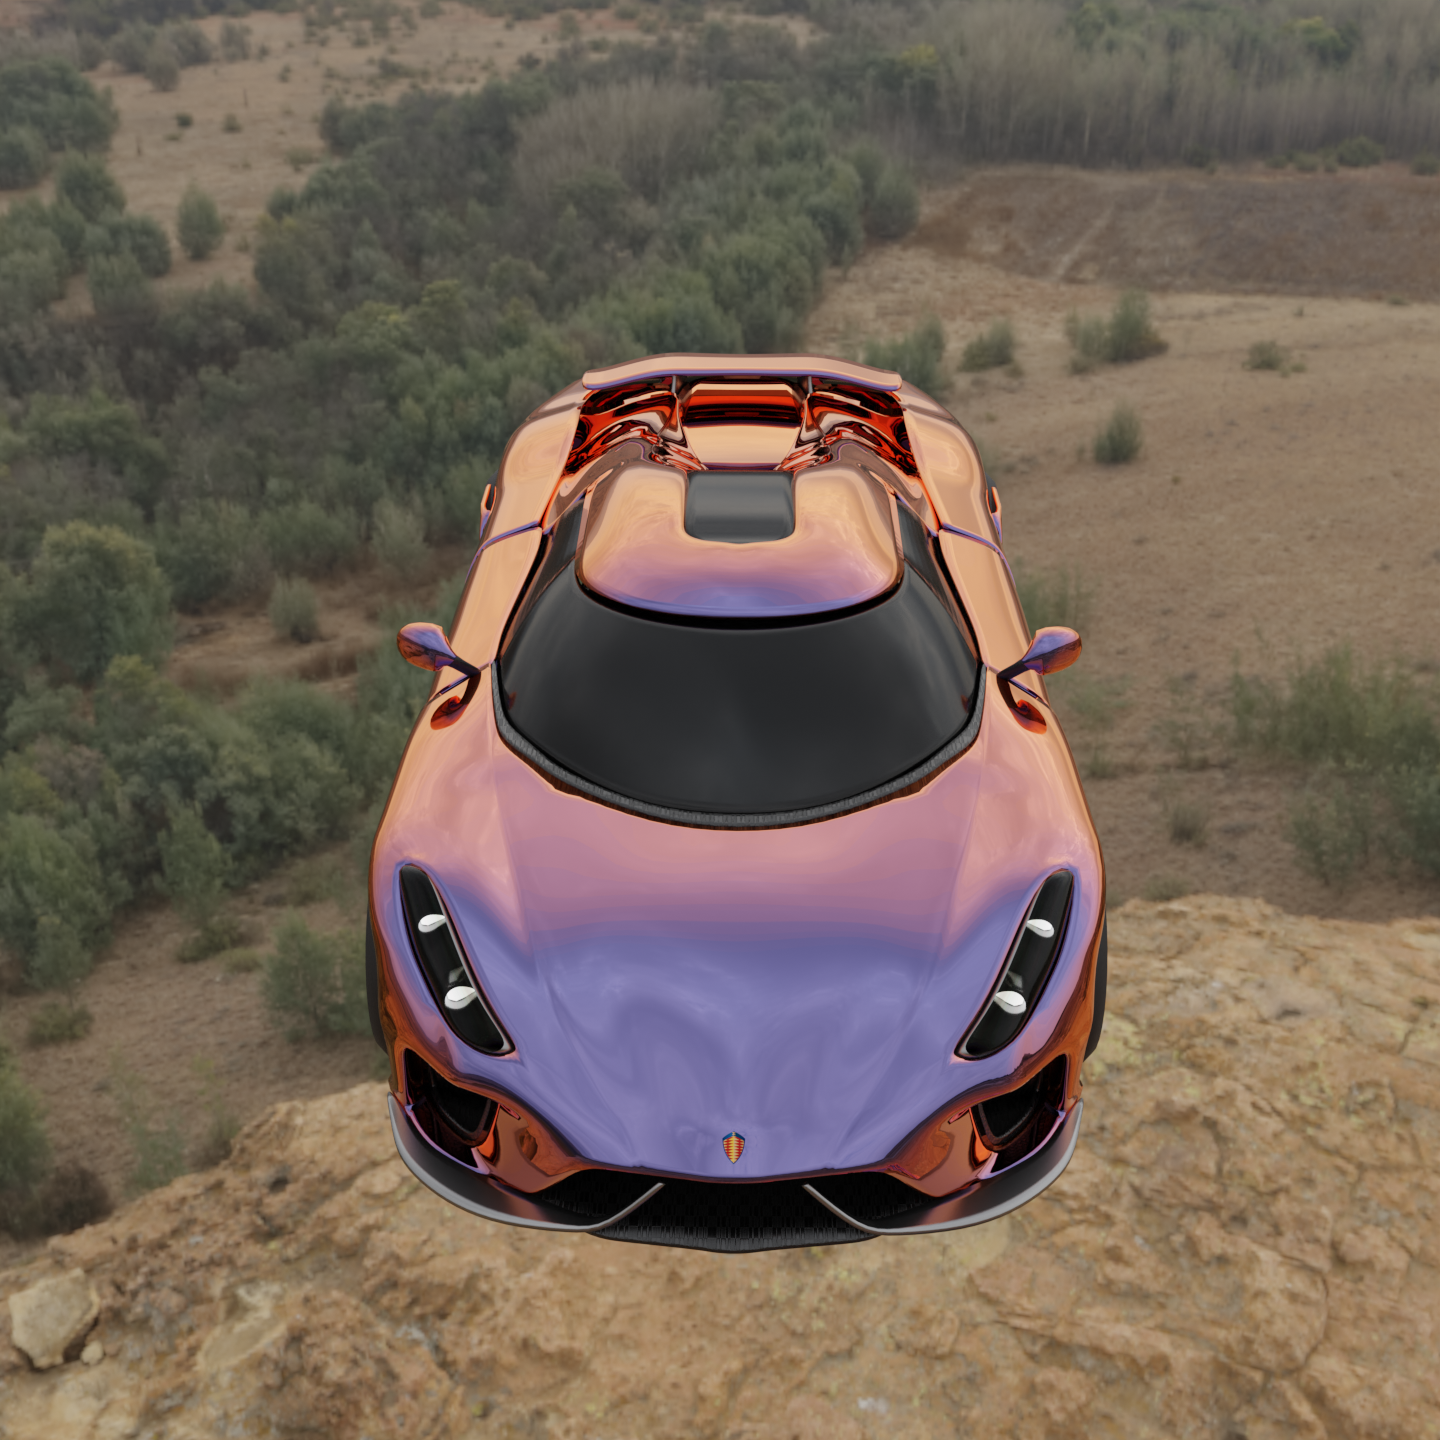
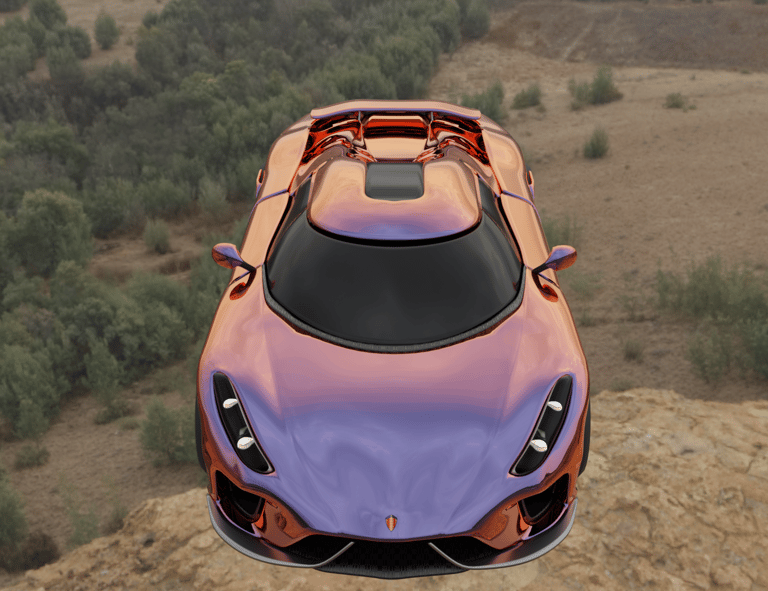
I present to you, my first ever successful hardsurface 3D modelled car, the Koenigsegg Regera!
This was a huge step up from the models that I had been creating prior to this in terms of cleanliness, topology, and presentation.
This took roughly 12-16 hours of work to put together, being my first ever attempt to try to precisely model using a good reference image (which I will talk about in detail in the modelling process section). This model took a direct hit at my biggest weaknesses when it came to 3D modelling, and also forced me to adopt good practices (such as frequently backing up my model) to create a stunning final product.
Being someone who used to create a lot of sculpts and procedural models, I was very unfamiliar in the "cleanup department". But for a smooth hardsurface model like this, I had to ensure cleanliness. This forced me to go back to the first principles of 3D modelling. Manipulating verts, edges, and faces, along with using other geometry editing tools such as loop cuts, bevels, and even sculpting to get the vertices to follow certain trajectories.
The hardest part of this all, was trusting the process. Venturing into the unknown, and trying to do something that I am not sure that I am capable of doing. Doing the impossible was a necessary step in levelling myself up as a 3D artist. Even though, I made obvious mistakes along the way with this model, the end result is still satisfying as it manages to capture roughly 70% of the actual car's exterior accurately.
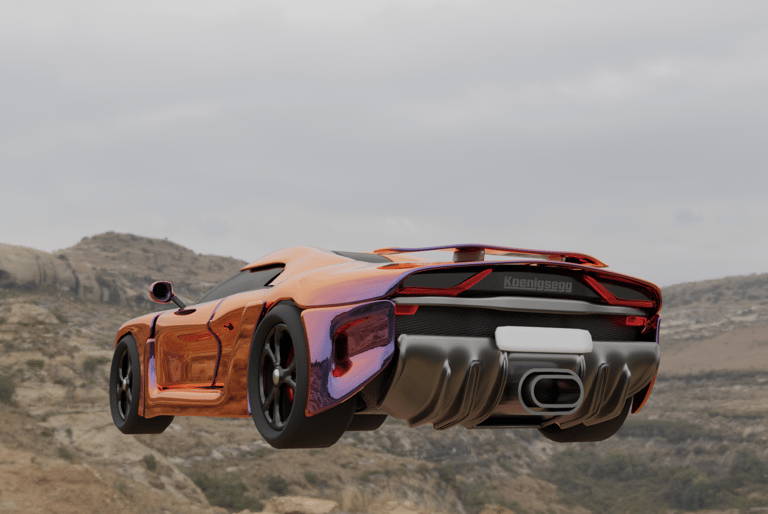
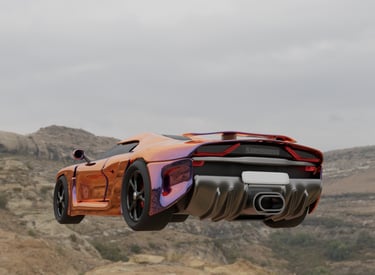
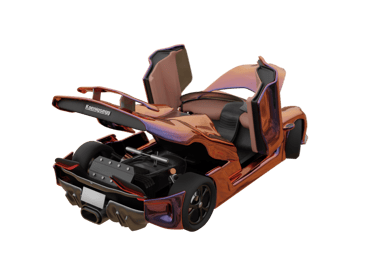
Rear View
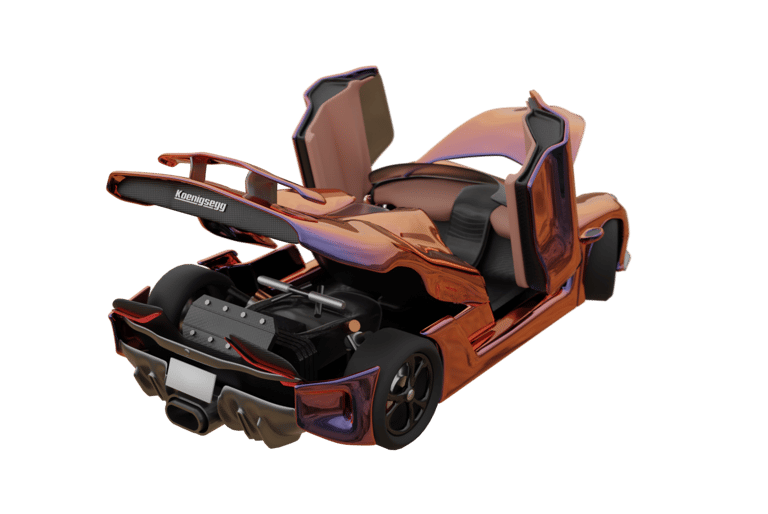
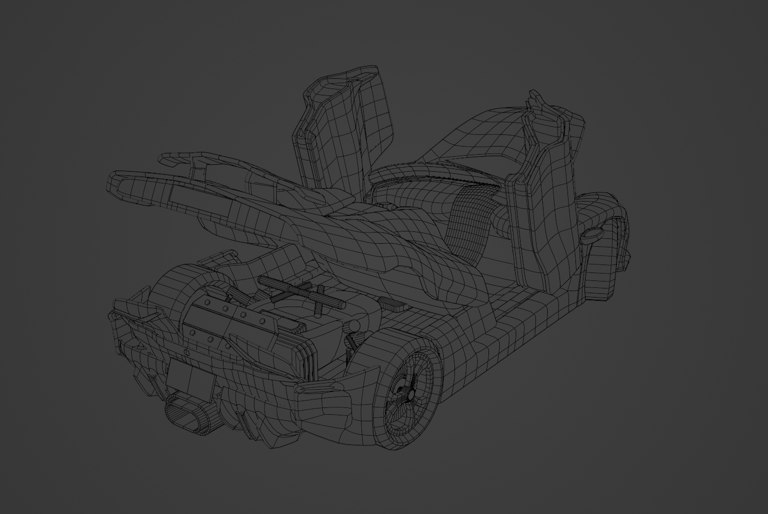
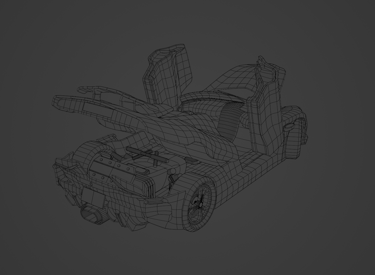
Rear View (Shows the insides in more depth)
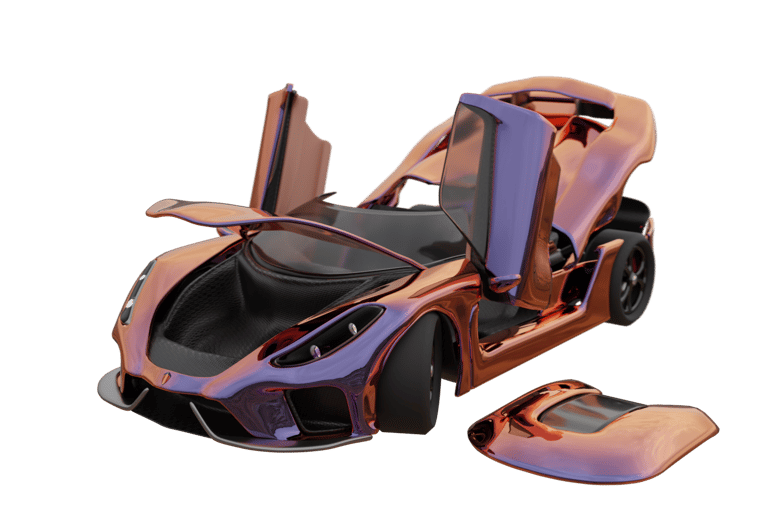
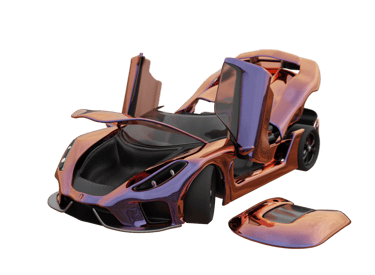
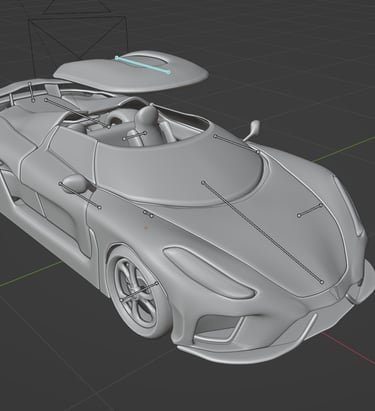
Front View (Detached Roof Piece)
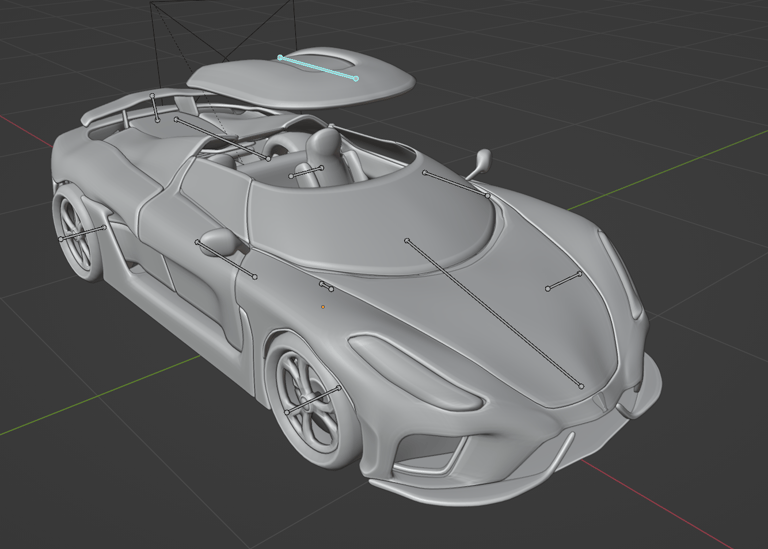
Hinge Mechanics and Detachable Roof
Bonus (Wireframe Showcasing the Topology)
How I made it
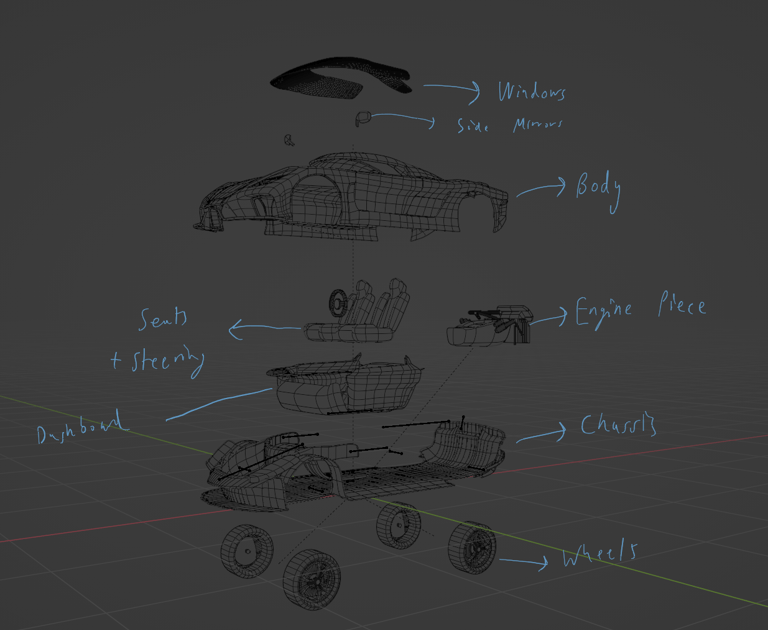
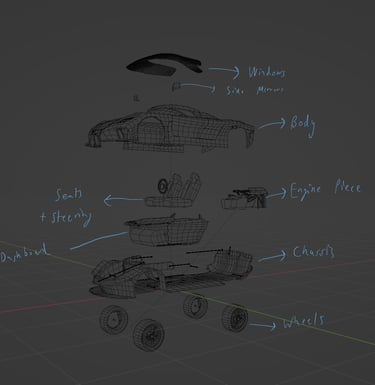
Comprehensive Breakdown of the Model
The mesh features several parts:
-Exterior (Body)
-Chassis + headlights/taillights
-Interior pieces (seats, steering wheel, dashboard, and door pads)
-Wheels + brakes (suspensions were not modelled)
-A piece resembling the engine (Note that this along with the interior are not fully detailed, they exist merely to make the model look less hollow while demonstrating hinge mechanisms.
-Seats, steering wheel, and dashboard which were later placed inside the shell.

Modelling the Koenigsegg Regera
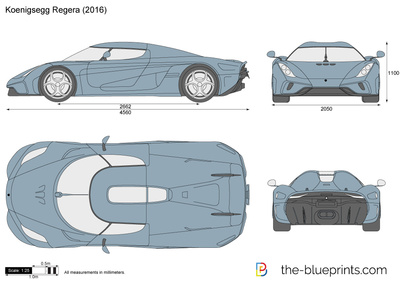
First I gathered a good reference image. This vector diagram is useful since it features a top, side, and front/back views. Now we create a net using quad planes to match the shape of our object in question, after which we apply appropriate modifiers to the car body. Using a mirror to ensure symmetry, and then adding sub division and solidify to make the body feel smoother and give it volume.
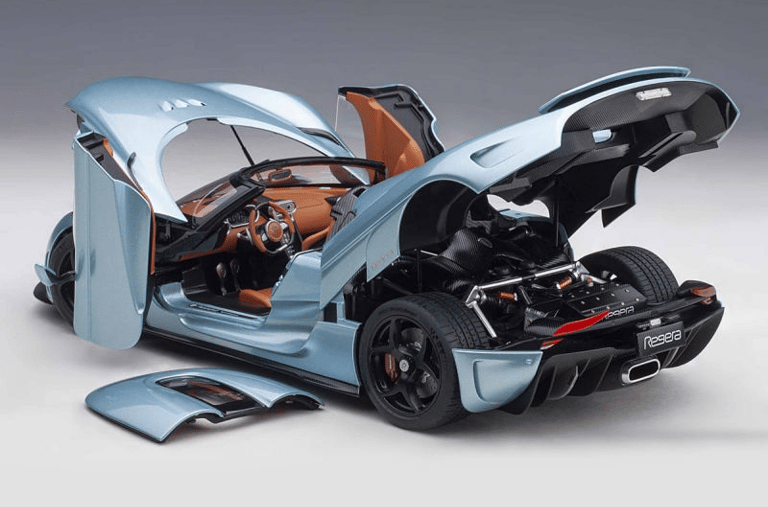
Next, for the mechanisms, I used this reference photo to get a better understanding of how the various parts behave. I also used this to roughly model the engine as well as the exterior.
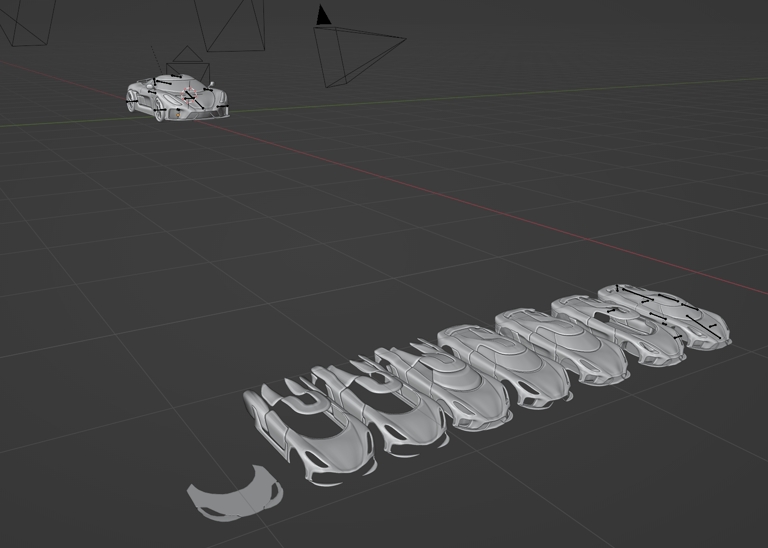
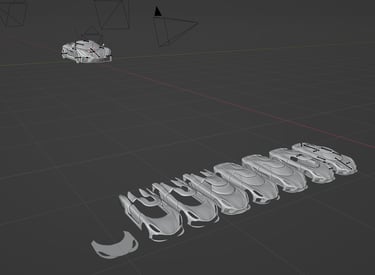
This image here shows the progression of the model using the various backups I created during modelling it. I took a significant number of backups since this was my first time handling something of this scale, and I tried to be very careful with how I handled it. When I got done with the interior, the modelling of the exterior was very straightforward since I only used basic primitives + some tweaks and modifiers to make it semi-presentable.
Next I set up the rig for the car as follows:
-A root bone to move the whole car.
-One bone for each of the four wheels.
-One bone to move the spoiler up and down.
-One bone for each door. This could be made more modular using a second set of supporting bone(s) which act as a hinge and constrain the door in certain directions. an IK can be assigned to the door bone itself to push control down to the smaller bones).
-One bone for the hood, as well as the entire backplate. If I were to remodel this, the backplate could also be made more sophisticated like the doors using a chain of bones since its a significant part of the car.
Thats it! This is how I made the Koenigsegg Regera as my first ever car model
Honorable Mentions: The Failures Along the way
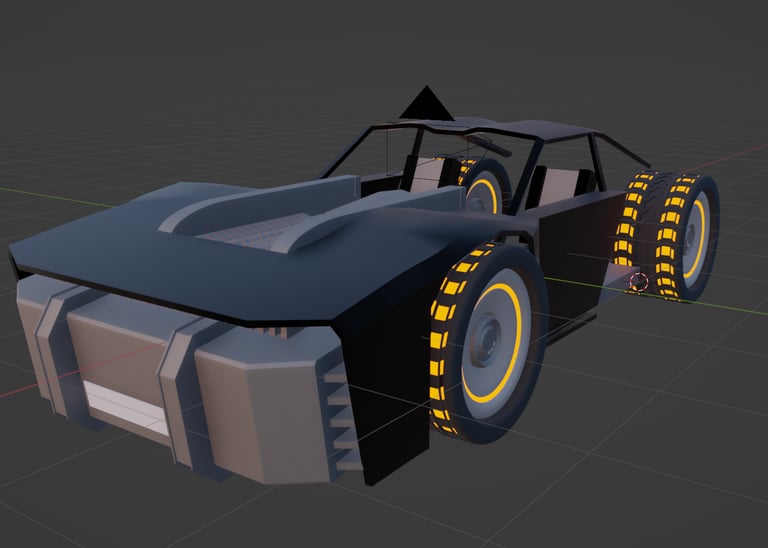

2022 Batmobile. I modelled this around the time the Batman movie came out because I was excited. Not too bad of an attempt honestly.
I have put this section up for two reasons:
1- So that you can have a good laugh seeing how atrocious this section can get
2- To show that learning this stuff takes time, it took me 4 years of using blender on and off to become as good as I am today. For newer artists, instead of waiting and thinking, its better to make the necessary mistakes that will lead you to making something great in the future.
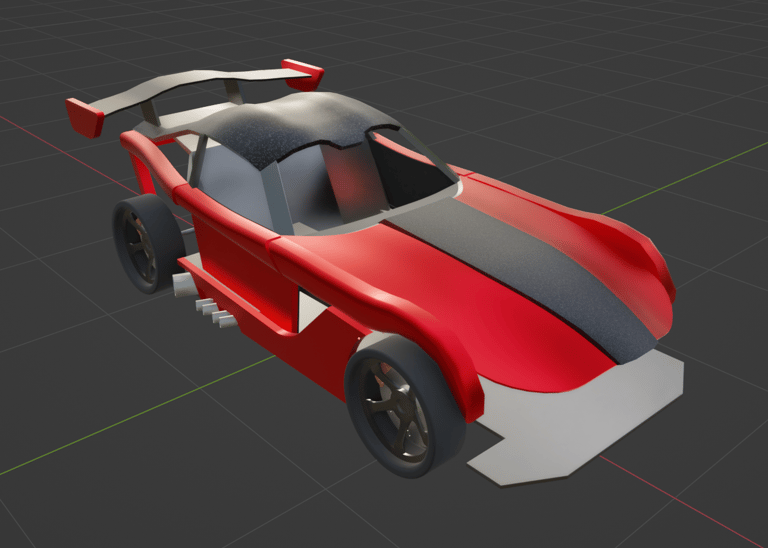
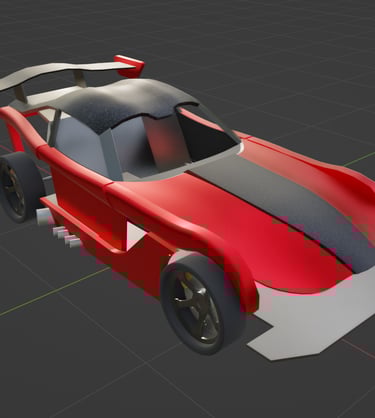
Dodge Viper. Honestly, the spoiler and the wheels survived the software crash that this poor car was exposed to. And not to forget that those brakes are more detailed than the ones I used for my Regera.
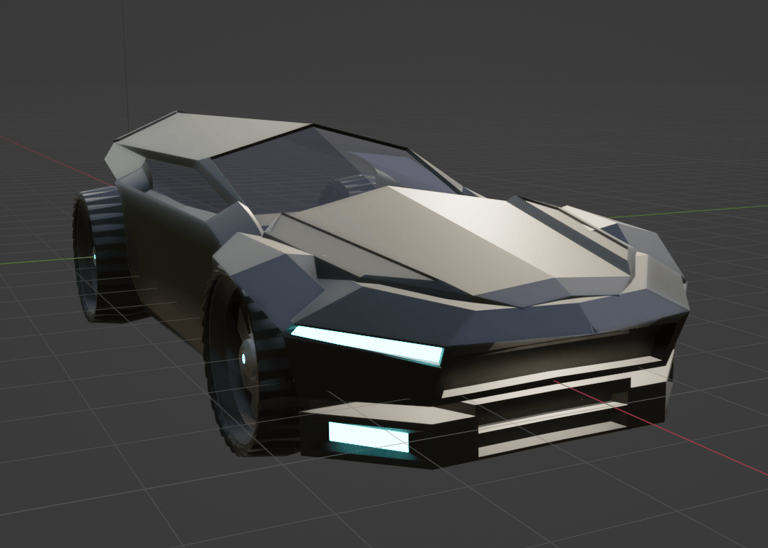
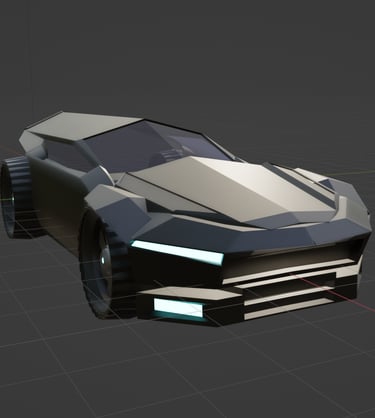
The edgy batman-inspired polygonal mess. Again, I put my entire soul into shaping those wheels, and the car itself does look frightening from the front. Sadly, the only way inside this vehicle, is through the back, as when you look closely, you can see how welcoming it is from the rear end. There is practically no bumper on the back. You can say that it is a hand puppet for a car featuring no interior either.
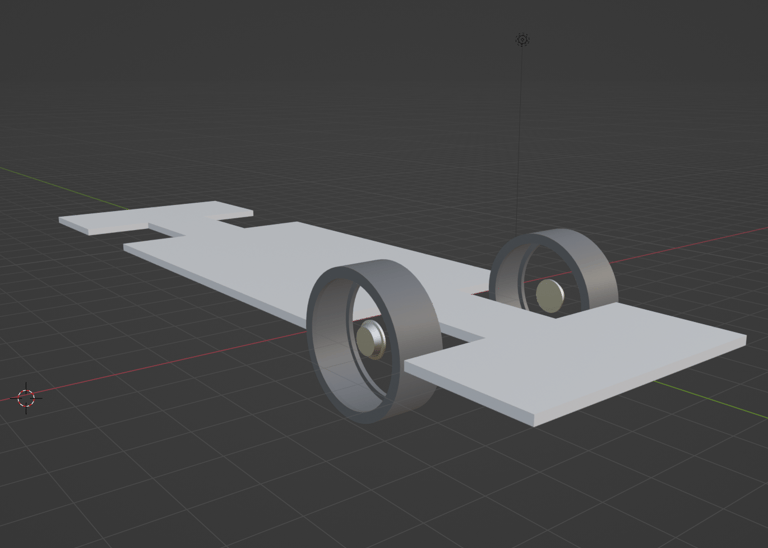

Gar2.blend. Yeah, I think this one deserves its own entry on my portfolio separately. The sheer simplicity of the design is commendable, as it makes use of fundamental engineering concepts, such as boxes on wheels that you learn about in classical mechanics. Only a fool admires the complexity of everything shown above in this page, while only true geniuses can appreciate the charm of this primitive looking craft.