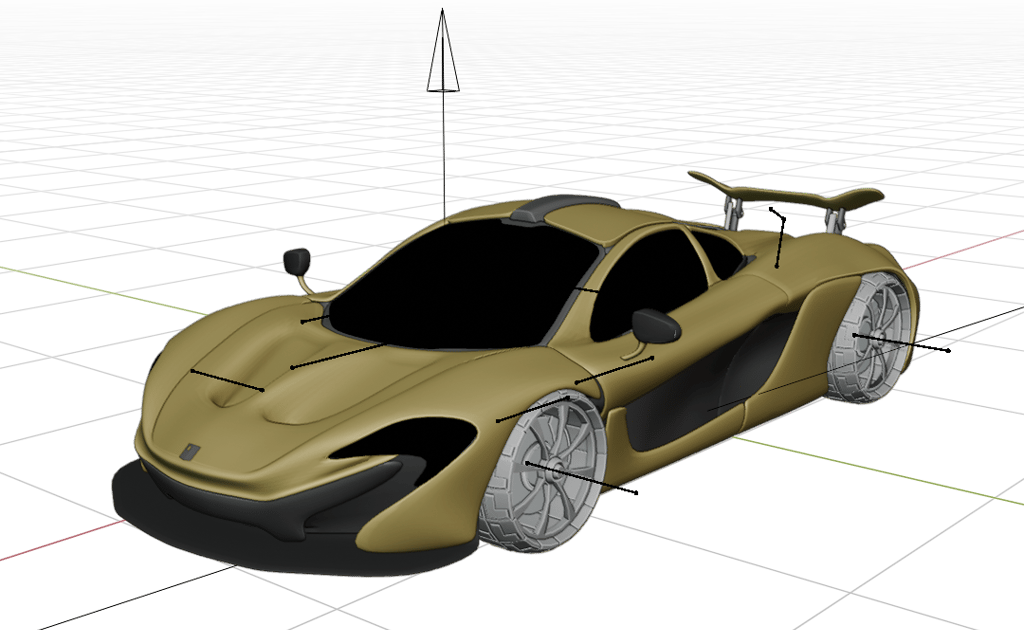
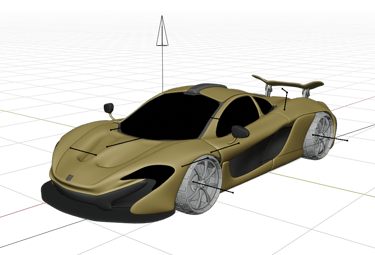
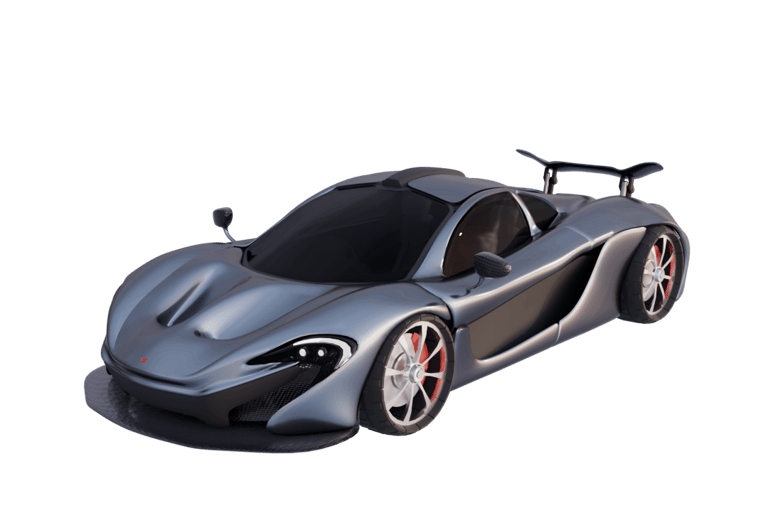
The McLaren p1
Front View
I present to you, the McLaren P1! This is my second successful hardsurface + sub division reference-modelled vehicle.
The innate curvature of this car proved to be quite a challenge to get right, as I continuously found myself making minor adjustments to the vertices to get the shape right.
However, despite that challenge, this proved to be a significant step-up from my first ever successful car model (the Koenigsegg Regera), as this features a functional control rig, as well as a "dummy" interior.
This P1 model comes with a spoiler mechanism featuring adjustable tilt for more flexibility, as well as a steering wheel rig that puts a constraint on the front wheel rotation. And obviously, the doors and hood can also be moved. Given this additional functionality, I believe my P1 model makes a valuable asset for basic production work overall. This model is also .fbx export compatible, allowing it to be used in external applications outside of Blender.
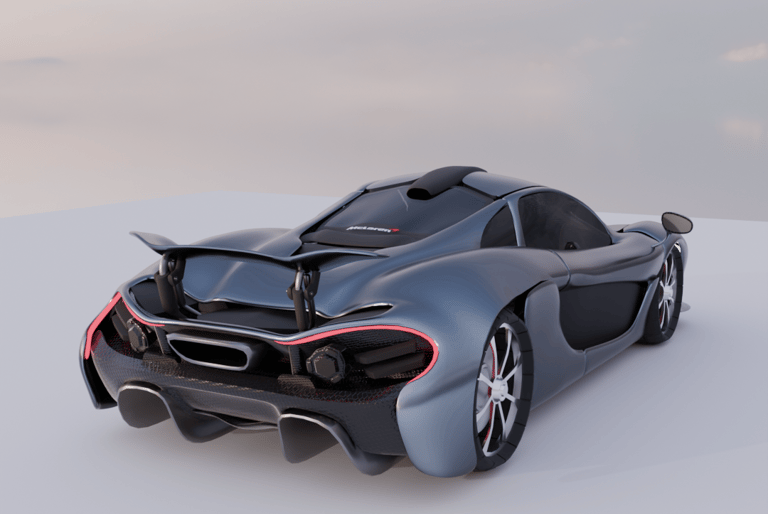
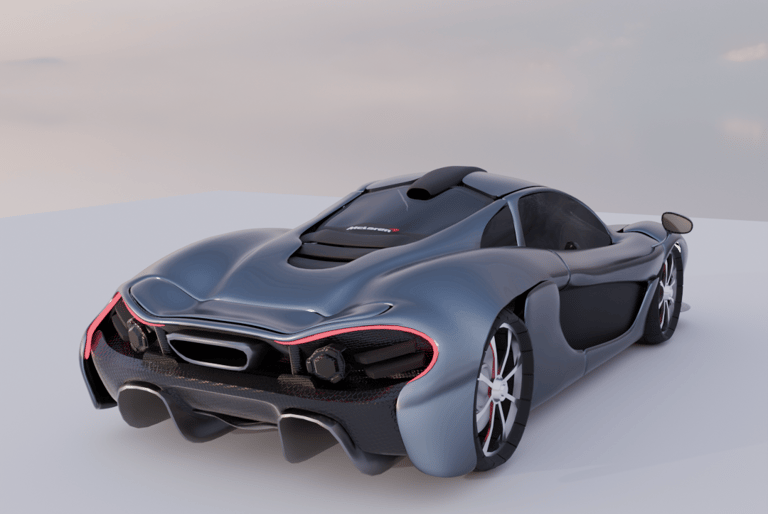
Rear View
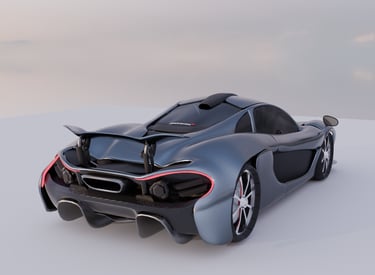
Rear View (Spoiler Retracted with adjusted tilt)
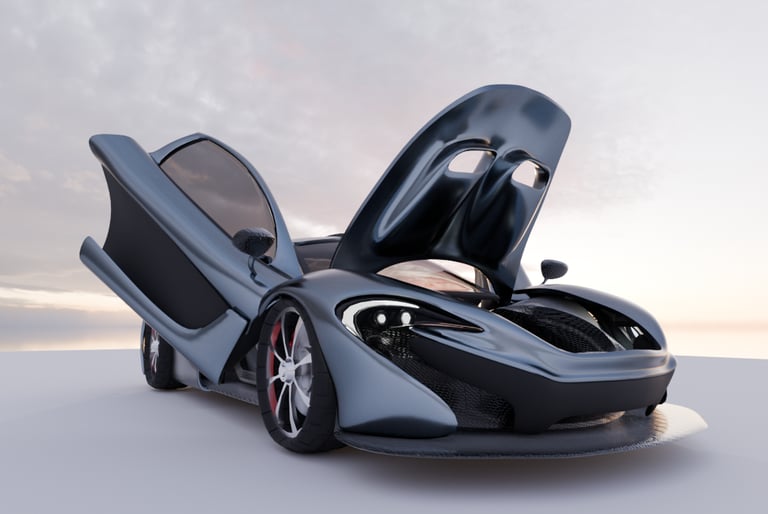
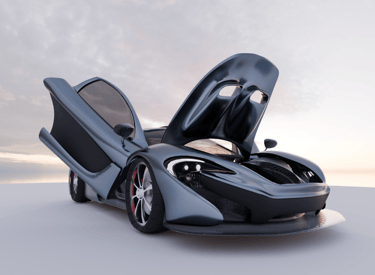
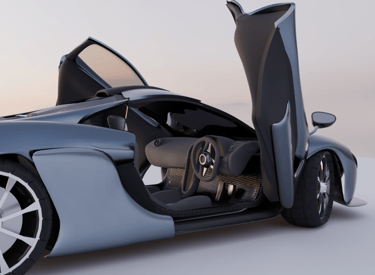
Front View (Opened Hood and Doors)
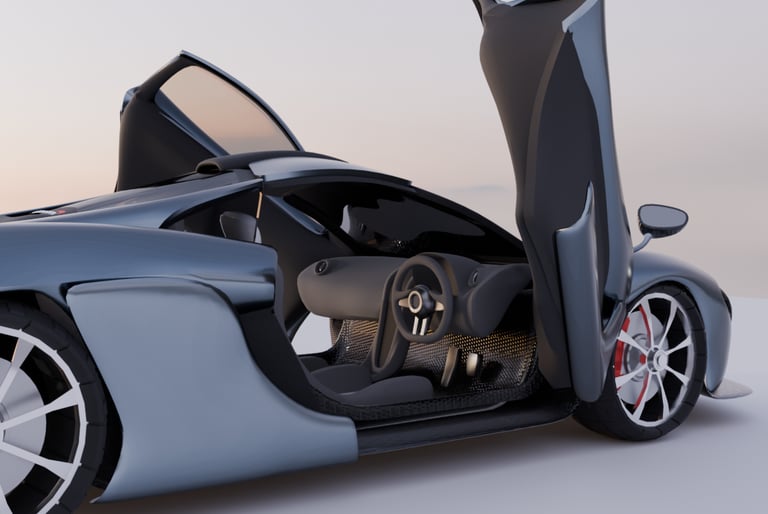

Interior View (Default)
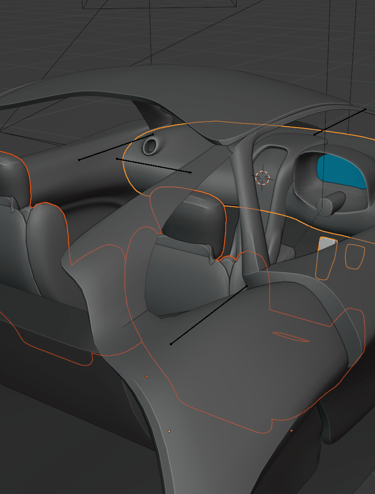
Interior View (Steering Wheel Tilt)
Door and Spoiler Demonstration
Steering Mechanics

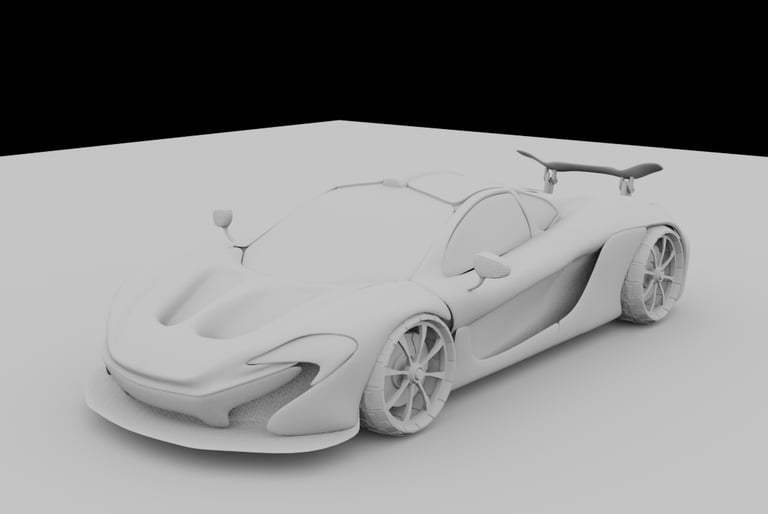
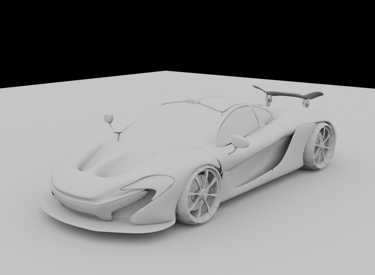
Bonus (Clay Render)
How I made it
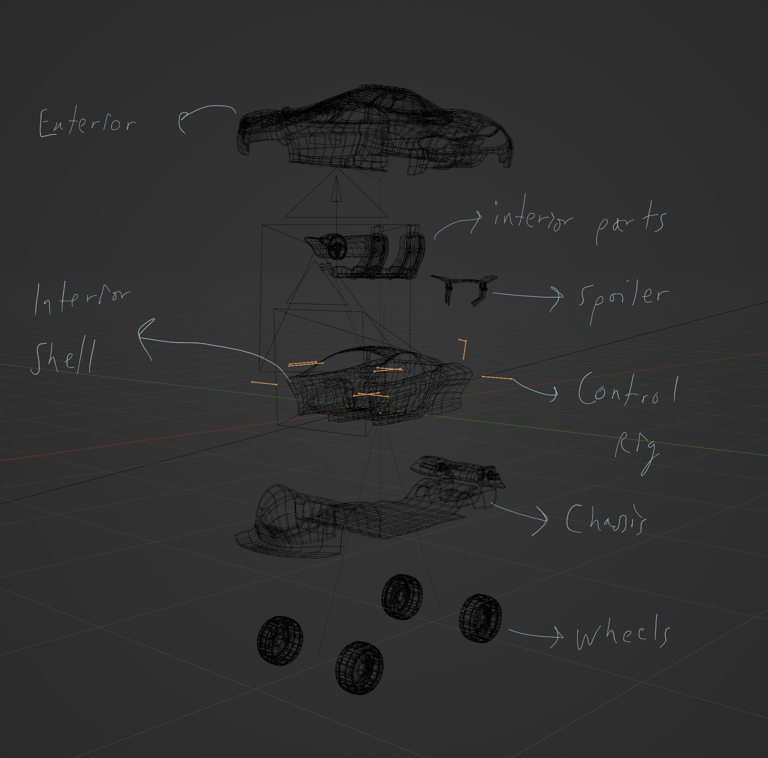

Comprehensive Breakdown of the Model
The mesh features several parts:
-Exterior shell
-Chassis + headlights/taillights
-Spoiler including a middle joint for the tilt mechanism
-Wheels + brakes (suspensions were not modelled)
-The Interior Shell. This shell was introduced to make the interior less hollow, and also to cover up the insides of the mesh to prevent backface culling from being visible when using one-sided materials.
-Seats, steering wheel, and dashboard which were later placed inside the shell.

Creating the Complete Exterior
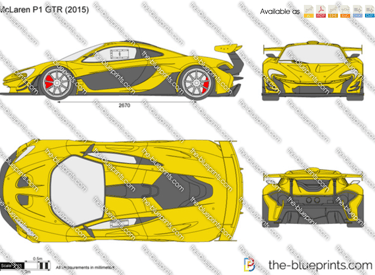
The first and foremost step is to gather suitable reference images. Your best bet would be to find a semi-clean vector diagram that features a top, side, and front/back views. This is now sufficient enough for us to begin tracing the model out (preferrably starting from the top or side view). We create a net using quad planes to match the shape of our object in question. This applies to any hard surface reference model that you may be making.
It is also helpful to apply appropriate modifiers to our model. Using a mirror modifier is a must as it practically halves your creating time and ensures symmetry. Even if your model has asymmetric details here and there, it is advisable to first make the basic form using mirror and then adding asymmetry manually after applying it. Along with this, I applied subdivision and solidify to smooth out the exterior and also give it more volume on its own.
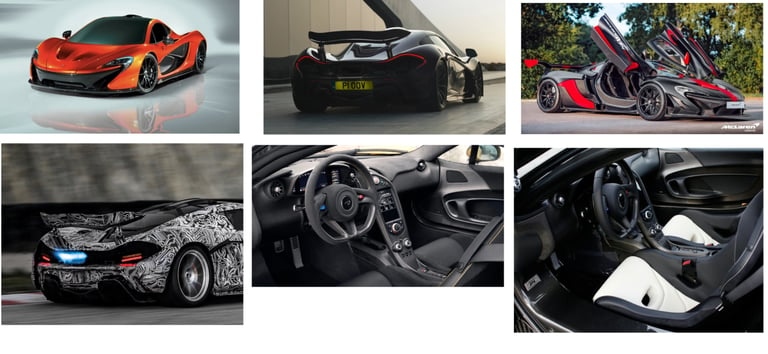
Next, to get a clearer mental picture, I went out and created a collage of real world images of the McLaren P1. This helped me better visualize some of the forms visible on the back of the model for instance, as well as the interior later down the road. While my goal wasn't precisely to create an exact replica given my lack of experience, it still helped me encapsulate the forms that I needed to make the model really resemble the real thing. (This step is not industry standard, it is purely optional I believe).
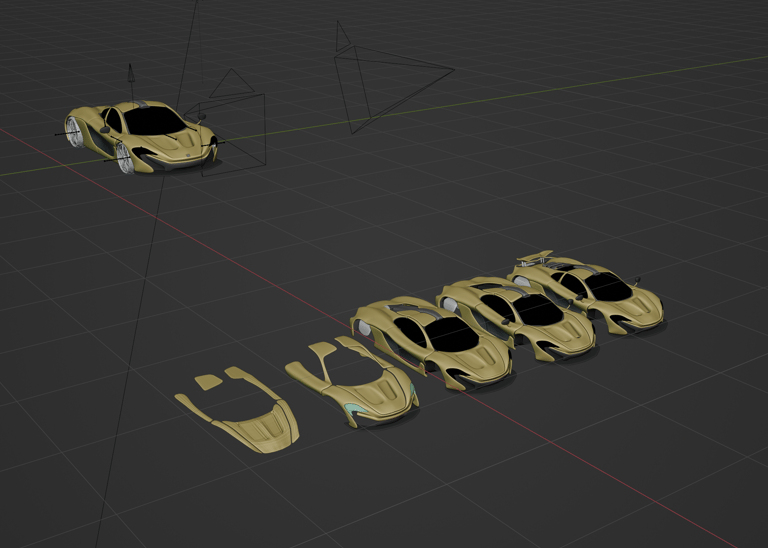
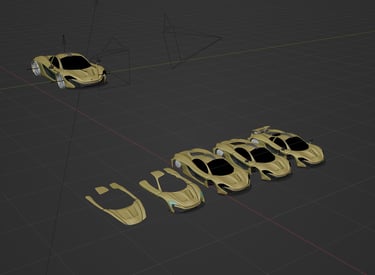
This image here shows the progression of the model using the various backups I created during modelling it. As the model became more comprehensive, I partitioned various segments of it, such as the chassis, windows, spoiler, etc.
It is generally good practice to create backups as you never know when you need to rollback to a certain look. Sometimes we run out of undos before we realise we did something wrong.
The Interior
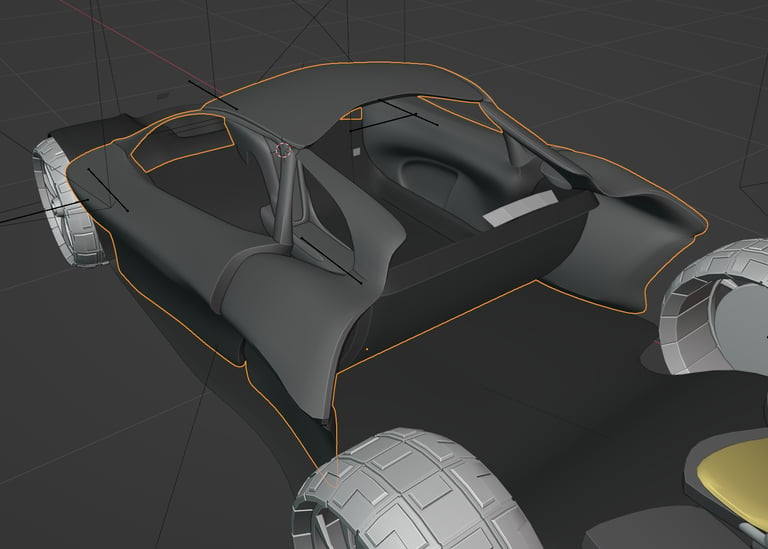
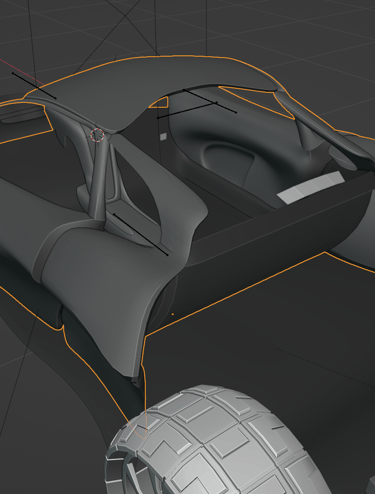
First, we drafted a shell from the interior using the existing exterior mesh, and merging it with part of the chassis for the area which was to be occupied by the interior.
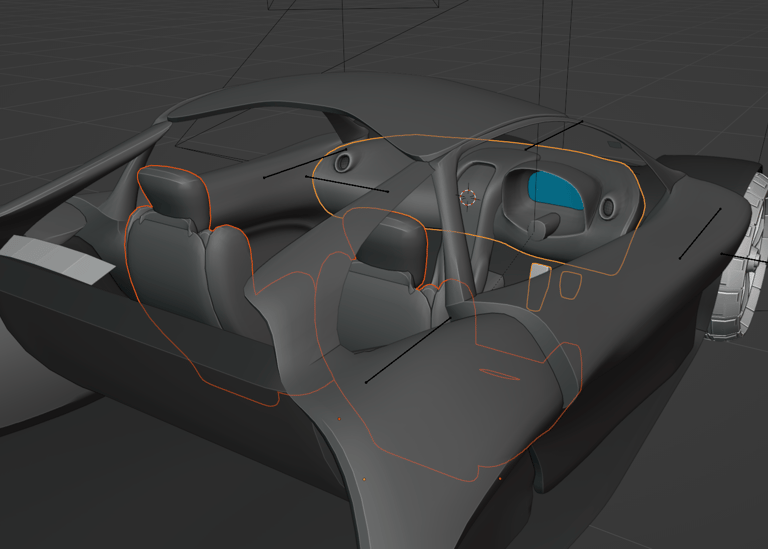
Next, I added the seats and the dashboard. The dashboard was initially modelled with a mirror modifier, but then the modifier was applied, after which I introduced the asymmetric details, namely the meter display and the gas pedals.
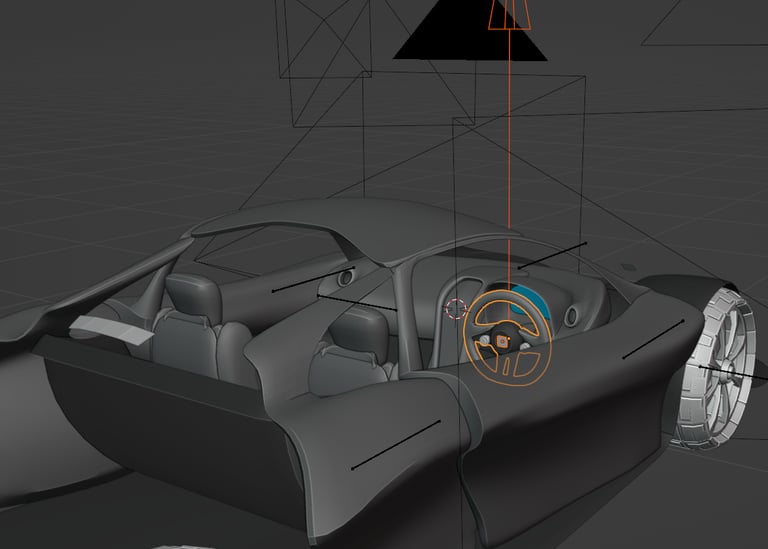
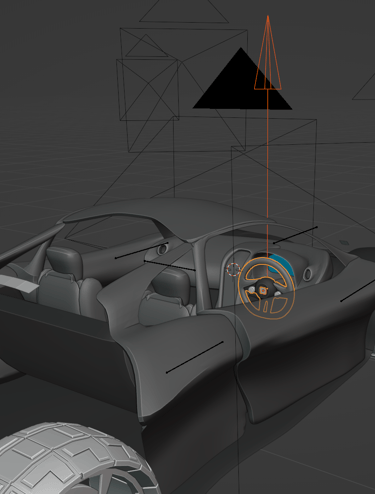
Finally, I added the steering, along with the wheel controlling mechanism. Essentially, the part of the rig that controls the wheels is mapped to the rotation of the steering wheel. The X axis rotation of the wheel now translates to the Z axis rotation of the wheels
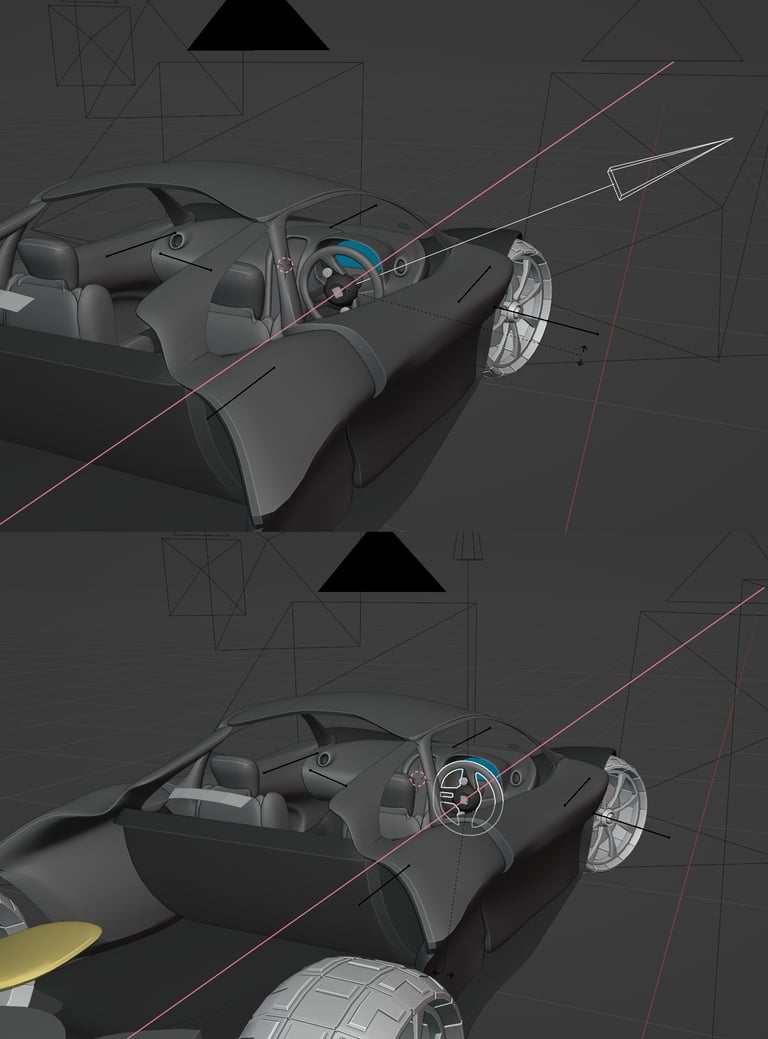
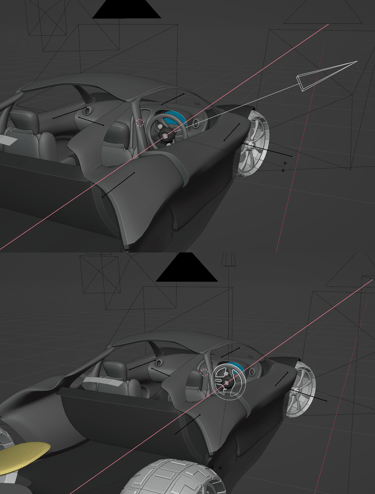
The wheels can be controlled either directly by rotating the steering wheel, or by using the arrow rig object, since it functions as a parent object to the steering wheel.
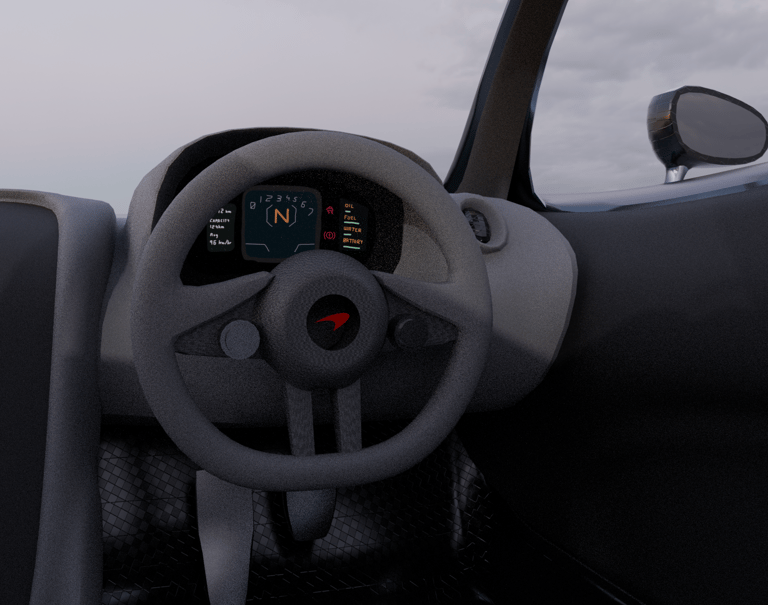
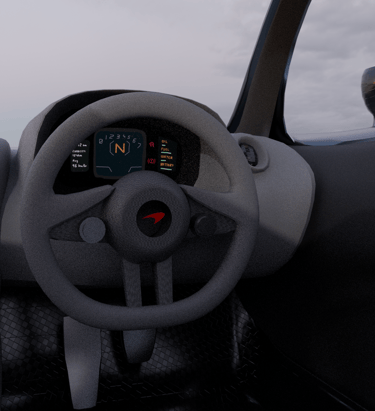
Bonus. I added Widgets to the meter display. These details were hand painted using a drawing tablet, and the texture is mapped to the emission of this material, allowing it to have that additional "glow".